Creating and Sharing an Office 365 Communication Site
In our previous installments, The Basics of the Office 365 Communication Site and The Components of the Office 365 Communication Site, we discussed the fundamental reasons for creating a Communication Site and looked at the components of the Communication Site in greater detail.
In this installment, we will advance to creating an Office 365 Communication Site.
6 Simple Steps to Creating an Office 365 Communication Site
The following are the six basic steps in creating a new Communication Site. After creating your Communication Site, the Site can be customized with various web parts. The six basic steps are:
- Sign in to Office 365;
- Select the App Launcher icon located in the top left corner of the page. Next, select the SharePoint tile. If you do not see the SharePoint tile, then click on the Sites tile. If SharePoint is not visible, then click All;
- Once on the SharePoint homepage, click on the + Create Site. Two Site creation options will be available: Team Site and Communication Site. Choose the option for Communication Site;

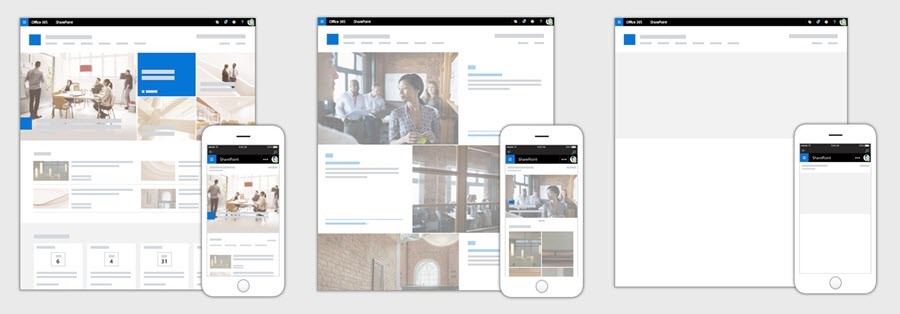
- Select one of the Site Designs (Topic, Showcase, or Blank – see Part 2 for details);
- In the next window, name your new Communication Site in the Site Name box. In the Site Description box, provide information which conveys to your audience the purpose of your site; and
- Click Finish. Your Communication Site has now been created. It will appear on other sites that you are following, but will not inherit permission settings or navigation of other sites. Note that this Communication Site is not shared with others until you have used the Share command.
Sharing a Site
Sharing a site is very simple! By using the Share command, you an invite people in your organization to a site. After creating a new site, it is a quick way to invite people and to grant permission to the people who you want to use your site.
One way to build team spirit and collaboration is to take advantage of sharing the site with a Kick-Off! This is a great method to emphasize team collaboration and to announce to the organization the new project that will be taking place.
To share a site:
- On the site that you want to share, click Share;
- A Share Dialogue Box will appear. Type in the names of the invitees from your organization;
- Include a message with your invitation; and
- Click Share.
The people from your organization that you have invited will now have access to your site once they accept your invitation.
As you can see, creating an Office 365 Communication Site is very simple, and consists of only 6 steps! Sharing the Communication Site is also simple. The next step will be to add, delete, and customize the web parts which delivers the content to your audience. This is explained in detail in Part 4: Adding, Deleting and Customizing Web Parts for an Office 365 Communication Site – The Hero Web Part and Part 5: Adding, Deleting and Customizing Web Parts for an Office 365 Communication Site – The News, Events, Document and Image Gallery Web Parts.
 Thursday, July 06, 2017
By : Mike Maadarani
Thursday, July 06, 2017
By : Mike Maadarani
 0 comment